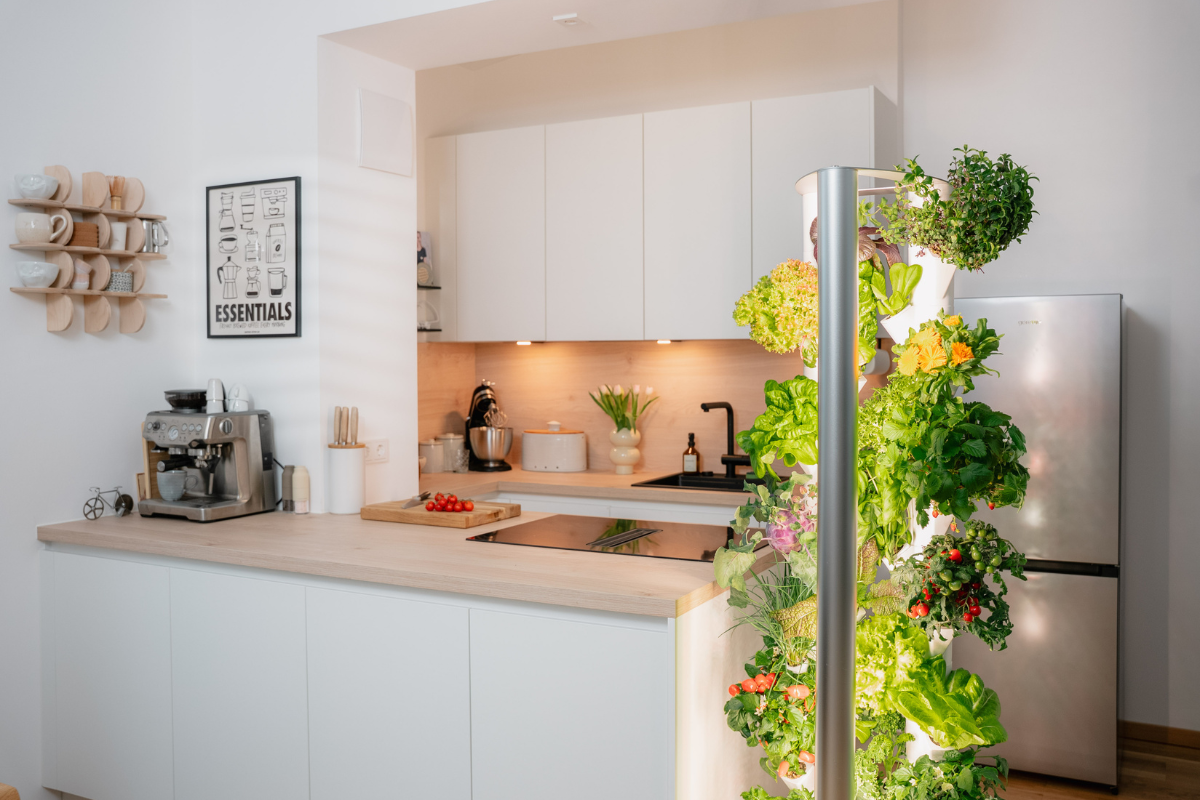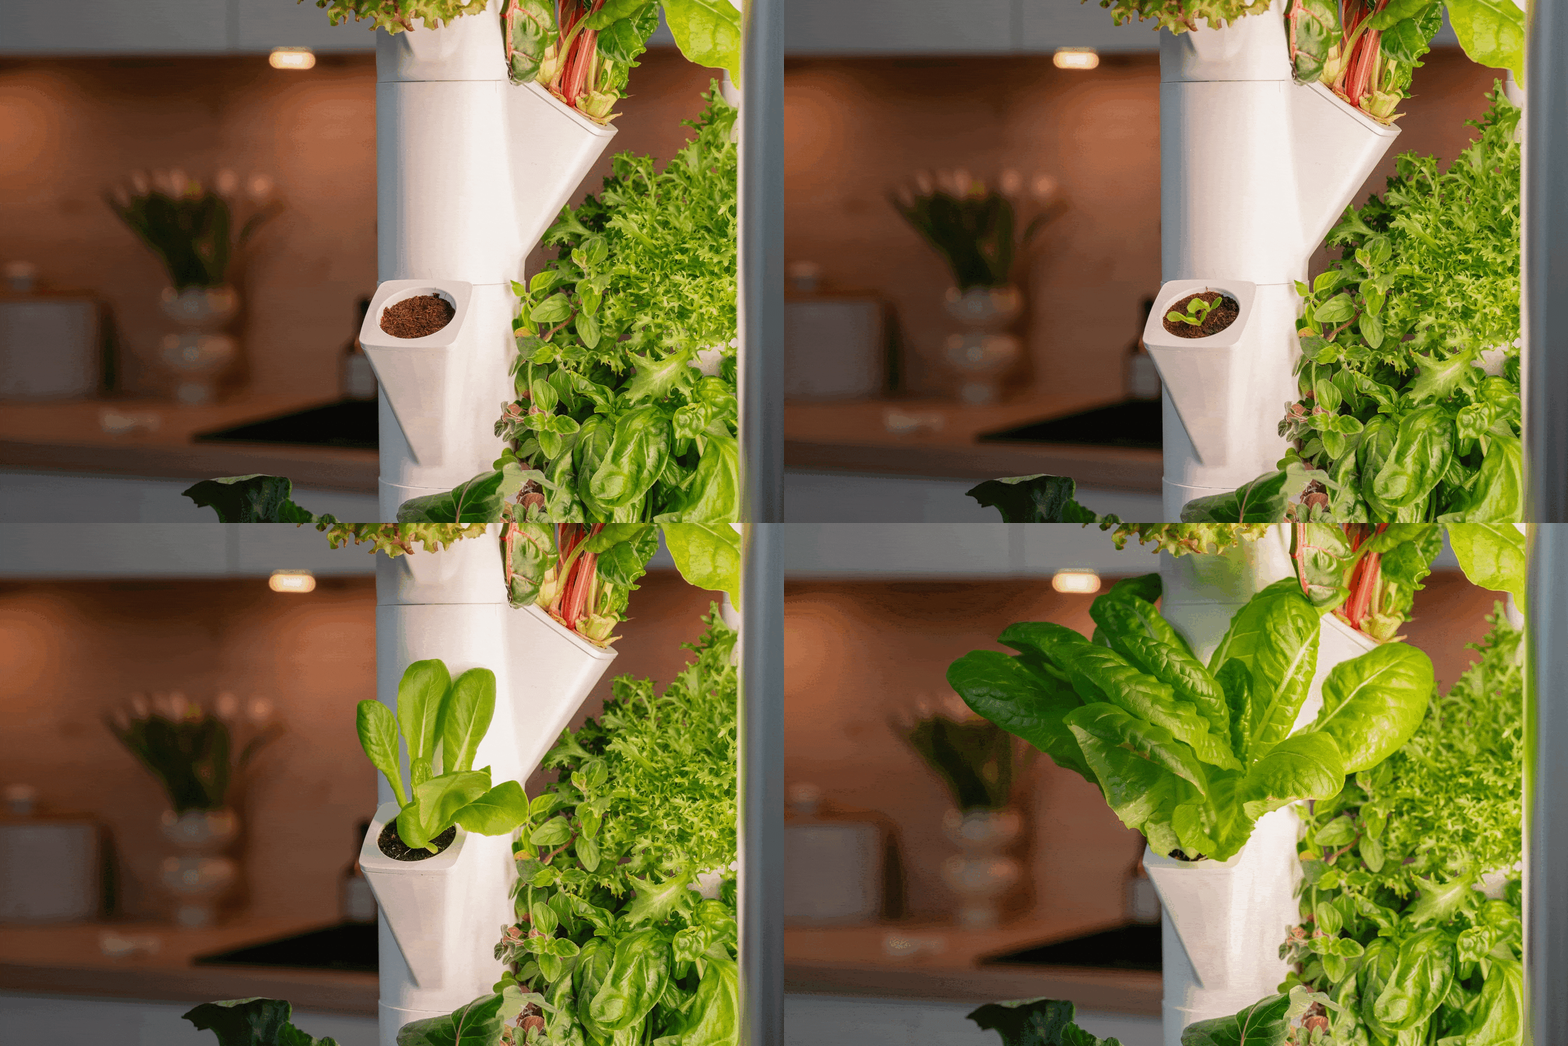
Day 1: Starting the Everleaf Garden
Here's a step-by-step guide for a successful start of 24 new plant pods in your Everleaf Garden.
If you only want to start individual plant pods while other plants are still growing in your Everleaf Garden, please check here: Start new plants in an ongoing garden
After you have successfully set up your Everleaf Garden and placed it in a suitable location, you can finally get started!
Placing plant pods:

Place the 24 plant pods from your starter kit into the designated plant pots according to the enclosed planting plan.
Some plants need more light than others – so it's important to place them exactly as indicated in the plan.
Do you want to use different plants than those in the starter kit?
Then you can find the recommended placement for each plant here: To the overview.
It's best to use our plant labels to identify the plants.
Then carefully remove the labels from the pods.
Make sure that no seeds are pulled off or fall out in the process.
Adding water:

Fill the water reservoir halfway with approx. 10 liters of tap water.
Activating light and pump:

Press any button to open the menu. Set the current time under the "Clock" menu item – this will ensure the lighting starts at the correct time.
The light is pre-set to 16 hours of illumination from 5 AM to 9 PM. If you want to change this period, you can find the setting under "Light."
Now switch to the "Pump" menu item and set the mode to "Sprout." The pump will start immediately and ensure particularly gentle watering during the germination phase.
More information on operating the control can be found here: Click here
After 10 minutes, all plant pods should be moist. If not, rotate the dry plant pots by 90° and restart the pump by first switching it to "Off" and then back to "Sprout."
You should see the first seedlings within a few days.
Don't worry: During the germination phase, the pump only runs briefly every two days – this is completely normal. The seeds should never get too wet for optimal germination.
Download Everleaf Calendar:
Our Everleaf calendar helps you keep track of your tasks so you don't have to worry about your plants.
You can download the Everleaf calendar to your phone here: Click here
Day 14: Adding Fertilizer and Adjusting the Pump
Are more than 6 plants not yet germinated?
Then it's best to wait a few more days with the next steps – otherwise, fertilizer and regular watering could impair the germination of the remaining plants.
Don't worry: It's completely normal for some varieties to take a little longer to germinate than others.
For Non-Germinated Plants:


- Remove plants that have not yet germinated and first place the plant pods in a container or propagation tray in front of the light bar. Only transfer them to the Everleaf Garden once the first leaves are clearly visible.
- Don't forget: Cover the empty plant openings in the Everleaf Garden with neoprene lids, otherwise algae will form!
- Ensure the substrate is neither too wet nor too dry. Only add water when the substrate starts to dry out and the top turns light again.
Generally, it's enough to add a little water every 2–3 days – depending on humidity and ambient temperature.
For Already Germinated Plants:
- Separate the top plate from the water reservoir by lifting both plant columns of the garden to about waist height with both hands. It's best to place the Everleaf Garden on a towel. The power supply can remain connected – in this case, please set the pump to "OFF" so it doesn't start.
- Empty the remaining water in the reservoir and clean the reservoir with dish soap.
- Place the top plate back on the reservoir and fill it with new tap water up to below the "Max" indicator line (20 liters).

- Add the initial dose of plant nutrient (Plagron Hydro A+B) of 40 ml each to the reservoir (first Hydro A, then Hydro B separately). Use the dosing cup for this. Shake the fertilizer well before use.

- Stir the water well (you can also do this by hand) and make sure nothing spills over. Then check the pH value of your water with the enclosed pH test kit.
With the tube we provide, take a water sample halfway up and
mix it with 2 drops of the pH measuring liquid. Then compare the color with the color scale on the bottle of the measuring liquid. The pH value should be between 5 and 6.5 so that the plants can absorb the nutrients optimally.

If the pH value is too high, add as many full pipettes (3 ml each) of the pH Minus solution to the water until you reach the optimal range.
One pipette lowers the pH value by about 0.5. Stir well and measure again afterwards.
Note: Since the plants absorb nutrients during the week (which have a slightly pH-lowering effect), the pH value gradually increases.
Therefore, we recommend setting it a little lower at the beginning – in the range of 5.0 to 5.5 (light orange). This way, it will remain in the ideal range even after a few days.
- Finally, set the pump to "Growth" in the control menu to activate hourly watering.
Day 14-30: Thinning Plants

Once your plants have developed their first leaves, it's time to thin them out.
Some varieties need more space later to grow healthy and strong.
It's best to keep the seedlings that are already well-developed and have remained compact.
For leafy greens and fruiting vegetables, you typically leave one strong seedling per pod.
For herbs, you can have three or more seedlings – depending on the variety.
You can find out how many seedlings per plant are ideal in our guide: Read more here
Carefully remove the remaining seedlings with clean scissors by cutting them just above the substrate.
But: Don't throw them away! The young leafy greens and herb plants are full of nutrients – perfect as a vitamin-rich topping for your next dish.
Day 21: Begin Weekly Care Routine
To ensure that your plants remain vital and do not suffer from water or nutrient deficiencies, it is advisable to consistently follow the weekly care routine.
Day 45: First Monthly Care Routine
With the help of the monthly care routine, your indoor garden will remain clean and your plants healthy in the long term. Don't forget to prune the roots as indicated to prevent them from clogging your Everleaf Garden. You can use the remaining water to water other houseplants.
Further Care and the First Harvest
To ensure your plants continue to thrive, it's important to understand the specific care requirements of each plant. Especially for plants like tomatoes and peppers, pollination plays a crucial role. Learn here how to optimally support this process and what other care tips are relevant for your plants: Click here
Successful Restart for Continuous Harvest
After a successful harvest, it's time to make space for new plants! To ensure you're always supplied with fresh vegetables, it's advisable to arrange for new supplies in good time. You can find out how to best start new plants here: Read now